rancilio silva part 1
✍ April 25, 2025 tagged #coffee #diy
So I’ve started my decent into madness espresso and went and bought a
secondhand Rancilio Silva:
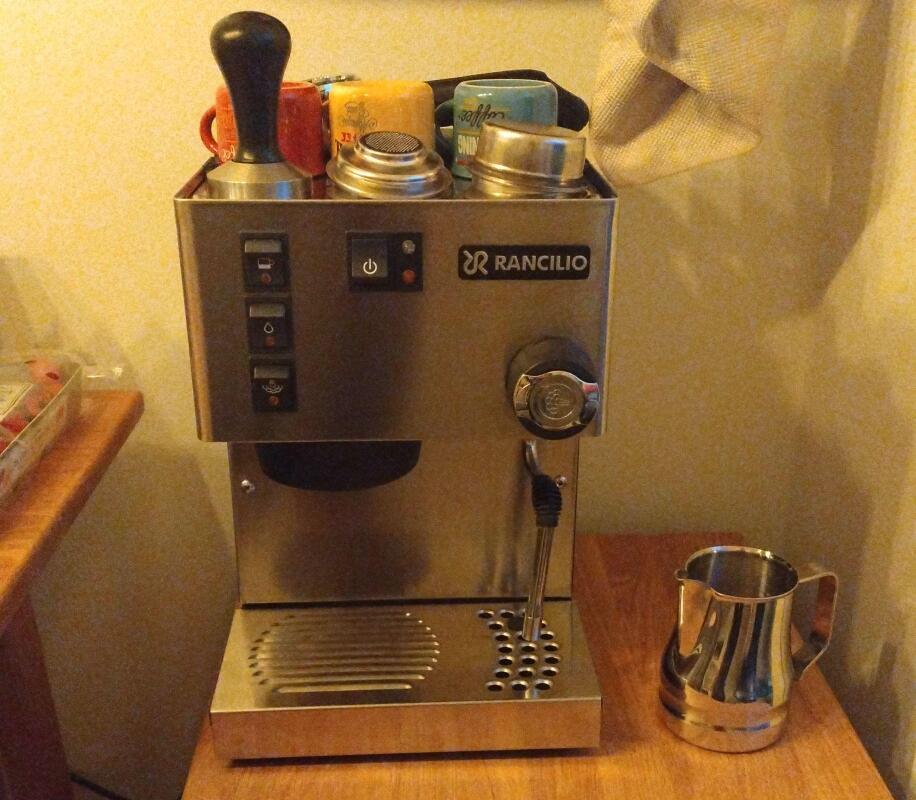
It’s a simple machine. A 3-way valve. Vibration pump. Single boiler. Brew and steam thermostats. I honestly think that the most complex part is the EU-mandated energy saving module (but don’t ask me about long-lasting boiler design).
#the possibly hallucinated problem of temperature control
Most espresso bullshit science can be reduced to one thing: reproducability.
The end goal is to pull a good shot, and to make the process itself repeatable.
The general recommendation is to follow a list of steps ranked by impact, and check items off it as you go.
- Beans: start with good quality, fresh beans
- Recipe: dosage > ratio > grind size > brew time; dial it in as you go
- Puck prep: it’s very possible to fuck this up; keep it simple
- Brewing pressure: pressure at the group head should be 9 bar
- Water temp: 92°C according to the italian espresso council
- Pre-infusion: well, manufacturers need something to sell people new machines, right?
But this story is about brewing temperature, and my Rancilio Silva has a single, insulated, ~800W boiler fed by a vibration pump. There is a little bit of wiring to control the brewer (on/off) with a thermostat (a kind of heat-sensitive controller) which heats the boiler until it reaches 80°C.
If you haven’t been introduced to the world of regulators, let’s ask ourselves, how can the boiler heat water to temperature exceeding 80°C when the thermostat switches off at 80°C?
- The heating element is not limited to 80°C. While turning it off will prevent the element from getting hotter, any residual heat will still affect the water.
- The thermostat measures the temperature of the boiler (from the outside), perhaps simplest thought of as a delayed average temperature of the water inside the boiler.
All of this is a lot of text to basically say that it is impossible to reliably pull shots with this machine at 92°C.
How large effect will this temperature variance have on the taste, you ask. Not sure, I answer warily.
#how to surf on temperate internets
What do people on reddit internet recommend?
“Just temp. surf!”
What is this temp. surf you ask? Temperature surfing means pushing the brew button, causing hot water to flow into the group head and cold water into the boiler and then waiting for specific amount of time. People hope that by doing this procedure (and presumably also by praying to every diety known to man) they’ll luck out and eventually start the show at the correct temperature.
And people argue that this works, reliably.
Well, luckily we have ze germans who don’t believe in voodoo shit and are pragmatic enough to solve this problem with some engineering and electronics, with some open source software sprinkled on top. The gist? Replace the brew thermostat with a Proportional Integral Derivative controller.
#it’s time to u-u-upgrade
About 6 months post-purchase it was finally time to tackle the problem, imagined or not, of water temperature.
The first task was to solder, assemble and dryrun the system. Here’s how it looks on my coffee table workbench:
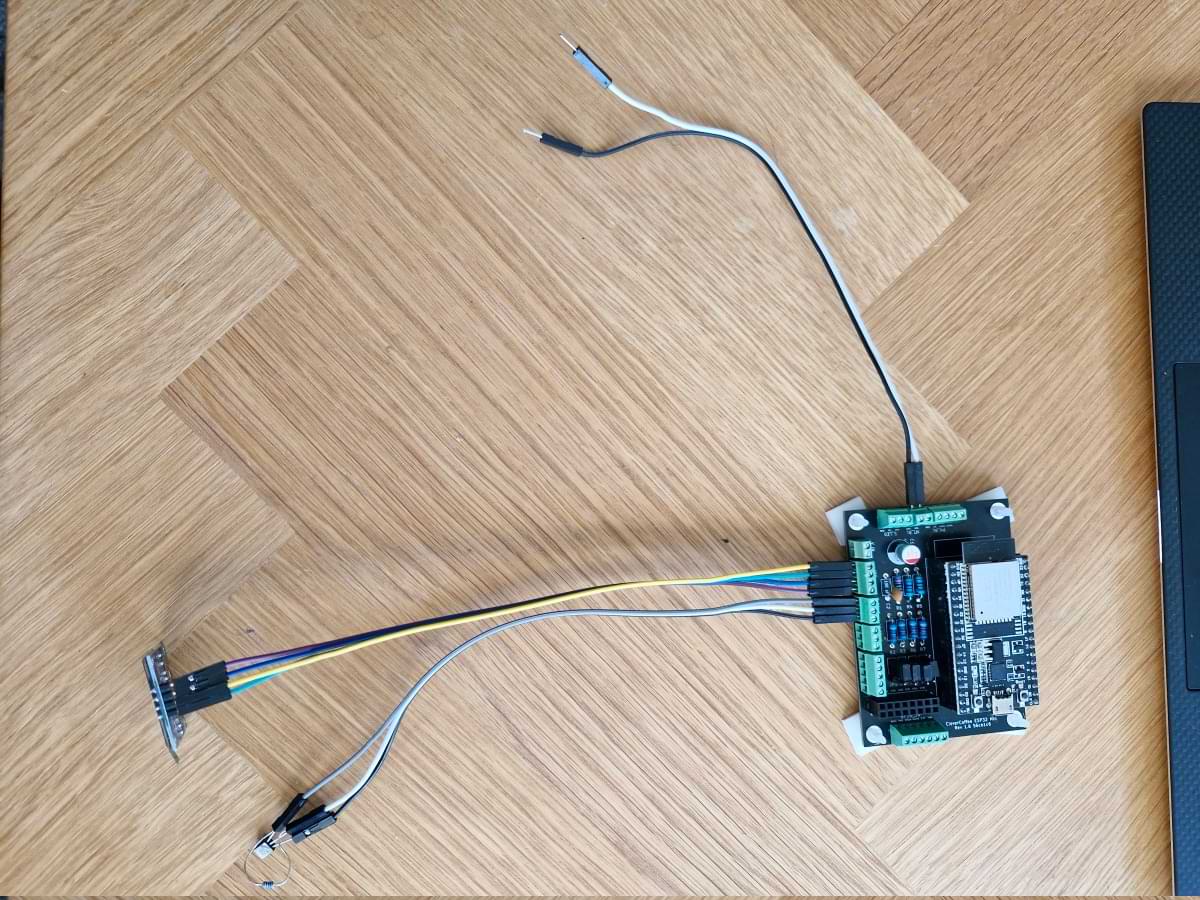
A few mis-wirings, blown sensors and a few incidents of money-not-well-spent later, it’s good to go:
- Firmware upload works via USB
- Firmware upload works via Wi-Fi (horay!)
- Web interface works ~20% of the time (horay?)
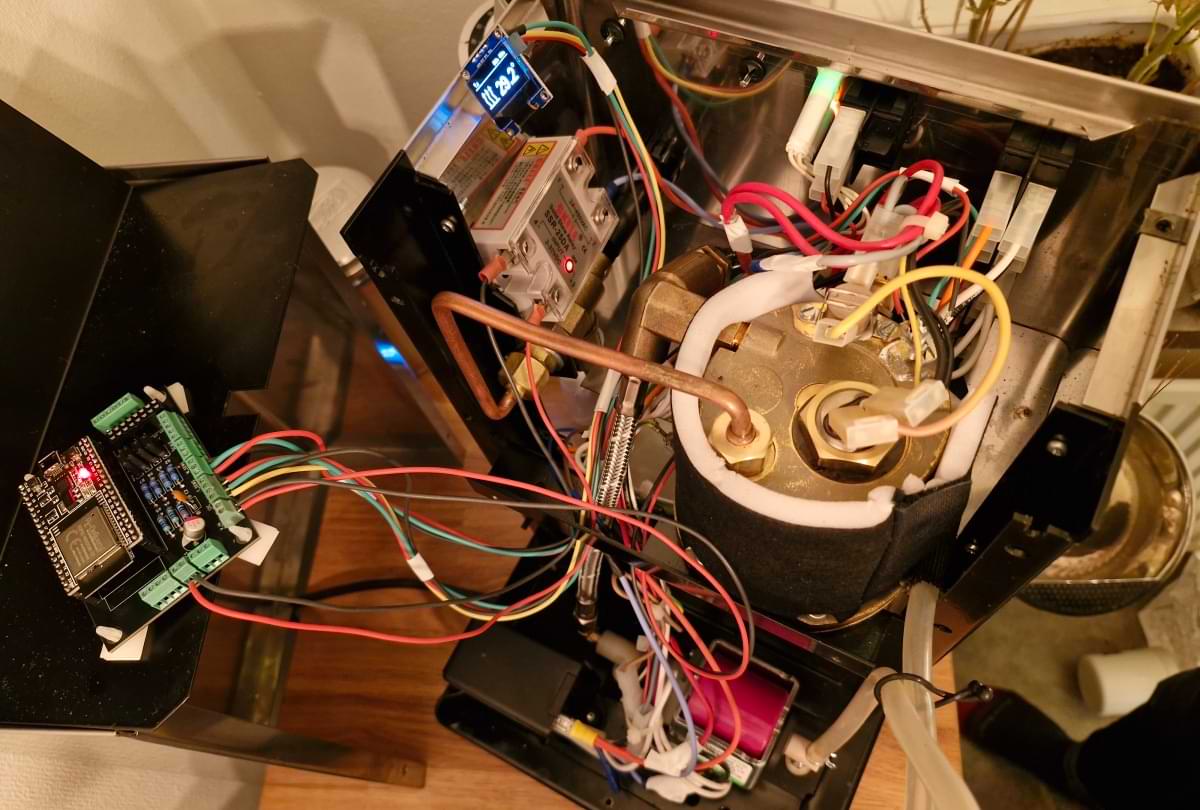
Next up, disassembly of the outer shell: a few screws are all that secure the outer chassis to the inner skeleton. Pictured is the insulated boiler with its two thermostats (brown knobs) on the right side, partially obscured by cabling.
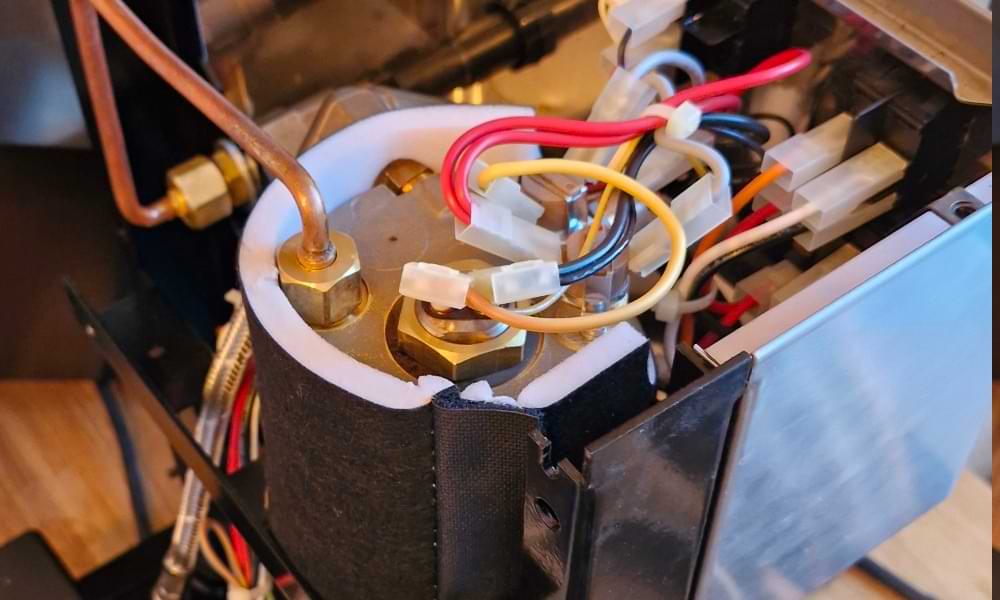
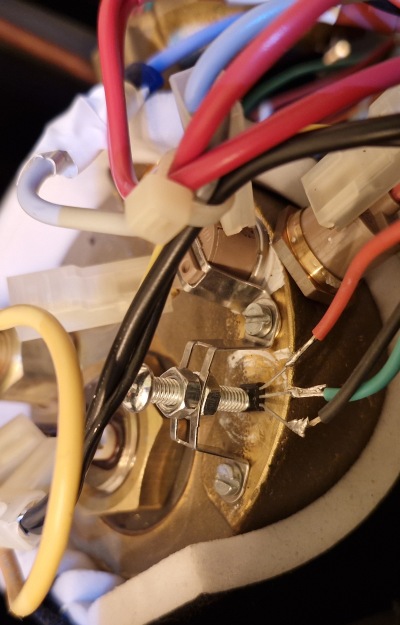
The two thermostats are for controlling brew and steam temperature separately. Rancilio’s own manual has the schematics and I actually read it, somewhat appreciative of the similarity with open source software. Replacing the brew thermostat is simple once I find a correctly-sized screw to thumb down the sensor to keep it in place.
Mounting the solid state relay, power supply and PCB is a little finicky.
Here’s me doing a final dry-run before breaking any remaining warranty committing myself to gluing the parts to the chassis.
Several hours later… it’s done. Finding a good place for the OLED screen, however, turns out to be quite the problem:
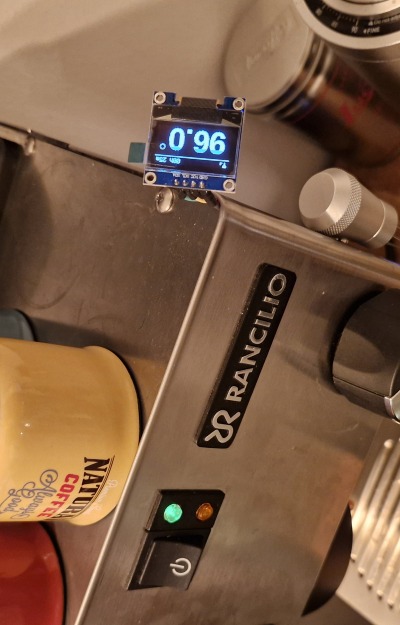
Oh well, I guess I need something to do next time. ¯\_(ツ)_/¯